Why Mounting ownCloud on macOS Is a Smart Move
ownCloud puts file storage on a server you control -- your own hardware, a VPS, or a hosted instance. The official desktop client mirrors folders to disk; mounting with OurClone takes the other approach: your ownCloud files appear in Finder and stream on demand, so nothing has to be fully synced to your Mac.
- 🗂️ Native Finder Access -- Browse your ownCloud files as a normal macOS volume from any app.
- 💾 No Full Sync Required -- Stream only the files you open instead of mirroring the whole server share to disk.
- 🔁 Live Two-Way Access -- Files dropped into the mount upload to ownCloud; changes made by other users appear after the next poll.
- 🛡️ Read-Only Safety -- Mount a shared team folder read-only so nothing on the server can be changed by accident.
- 🏠 Your Server, Your Rules -- Everything stays on infrastructure you or your team administer; OurClone is just the window into it.
How Mounting a Cloud Drive Works (and Why It's Different from Sync)
The ownCloud desktop client syncs: it downloads selected folders and keeps both ends matched. A mount leaves files on the server and streams them to your Mac only when you open them.
OurClone handles reads, writes, and change detection through a local cache, keeping recently used files fast while the rest stays on the server until needed.
You can mount ownCloud with a configurable polling interval and cache size, plus a read-only option for safe browsing. All traffic goes over the same WebDAV endpoint the official clients use.
- 🚀 Stream files on demand -- no need to download the whole share
- 💾 Saves Mac disk space by caching only what you actually open
- 🔁 Two-way access -- edits in the mounted folder push back to the server
- 🛡️ Read-only mode prevents accidental writes to shared folders
What to Know Before You Mount ownCloud
Plan these before mounting.
- 🧩 No macFUSE Required -- On macOS, OurClone mounts through rclone's built-in
nfsmount, which relies on the NFS client already in macOS, so there is no kernel extension to install before your first mount. - 🔗 Find Your WebDAV URL -- ownCloud exposes WebDAV at a URL like
https://your-owncloud.example.com/remote.php/dav/files/USERNAME/; the exact address is shown in the ownCloud web app's settings. - 🔑 Use an App Password with 2FA -- If your account has two-factor authentication, create an app password in ownCloud's security settings instead of using your login password.
- 🖥️ Choose a Sensible Mount Point -- Use a dedicated empty folder like
~/CloudMounts/ownCloud, not your Desktop or a populated folder. - 🔒 Read-Only vs Read-Write -- Read-only suits browsing team shares; read-write is needed to upload, edit, or delete. Read-only mounts can't upload.
- 💽 Plan Your Cache Size -- A larger cache speeds repeat access but uses local disk; size it to the files you open most.
How to Mount ownCloud on macOS with OurClone
OurClone connects to your ownCloud server over WebDAV, then mounts it as a local volume.
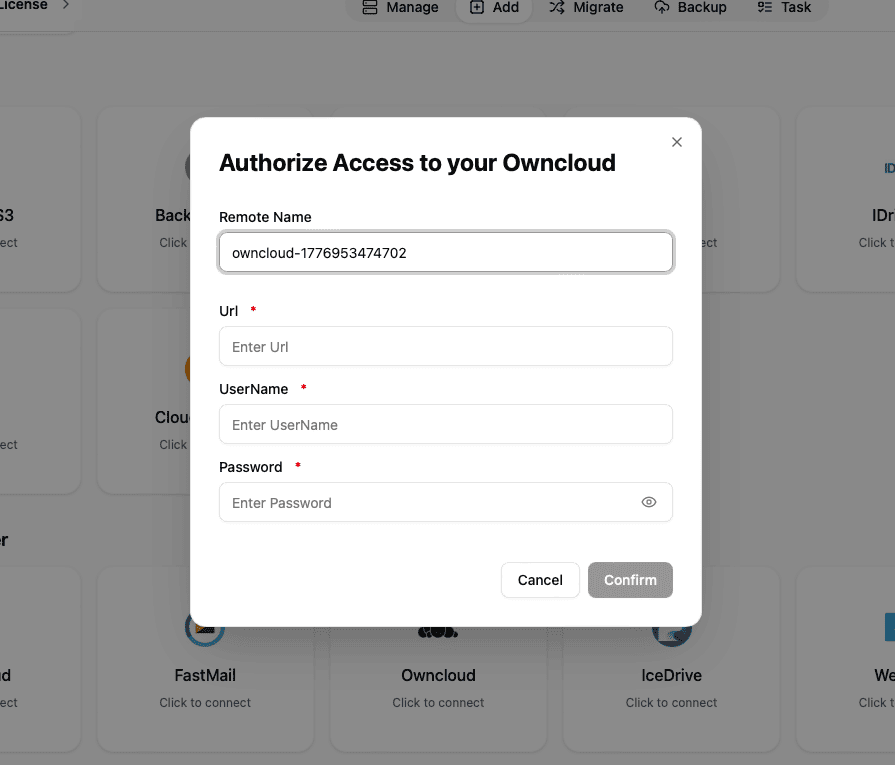
- 🔗 Connect ownCloud via WebDAV -- Open OurClone and go to
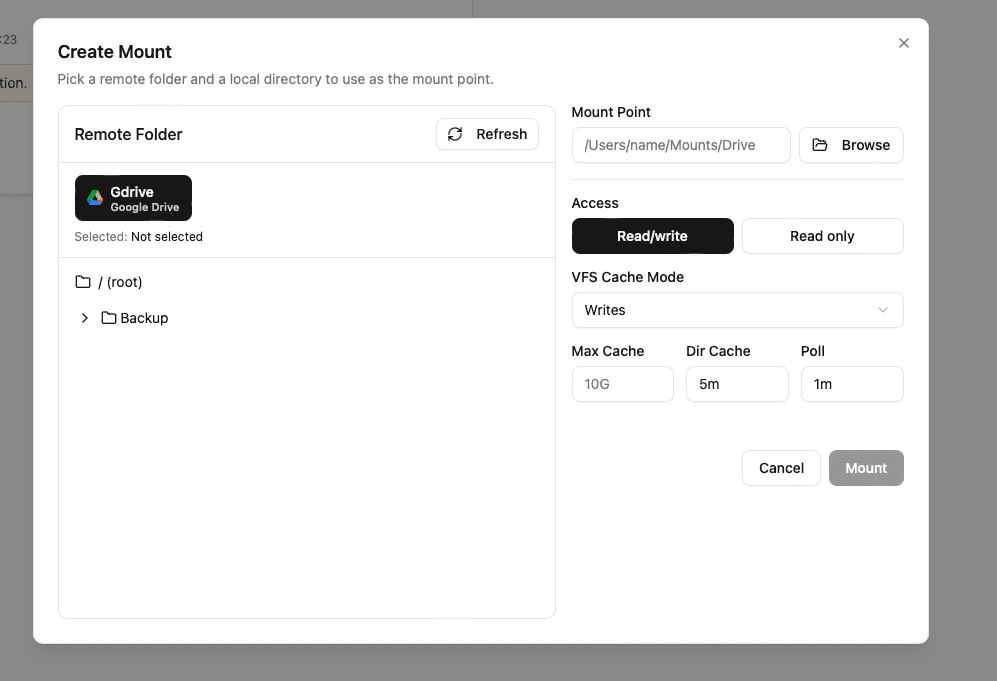
Add Storage. Select ownCloud, then enter your server's WebDAV URL (likehttps://your-owncloud.example.com/remote.php/dav/files/USERNAME/), your username, and your password or app password. Confirm the connection. - 📂 Open the Mount Tab and Click New Mount -- With ownCloud connected, go to the
Mounttab and click New Mount in the top-right corner. - ⚙️ Configure the Mount Settings -- Pick ownCloud as the source. Choose a specific folder or the whole account, then a local mount point like
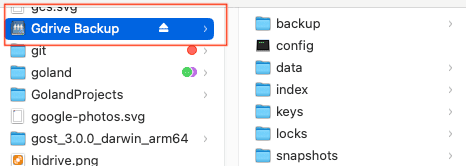
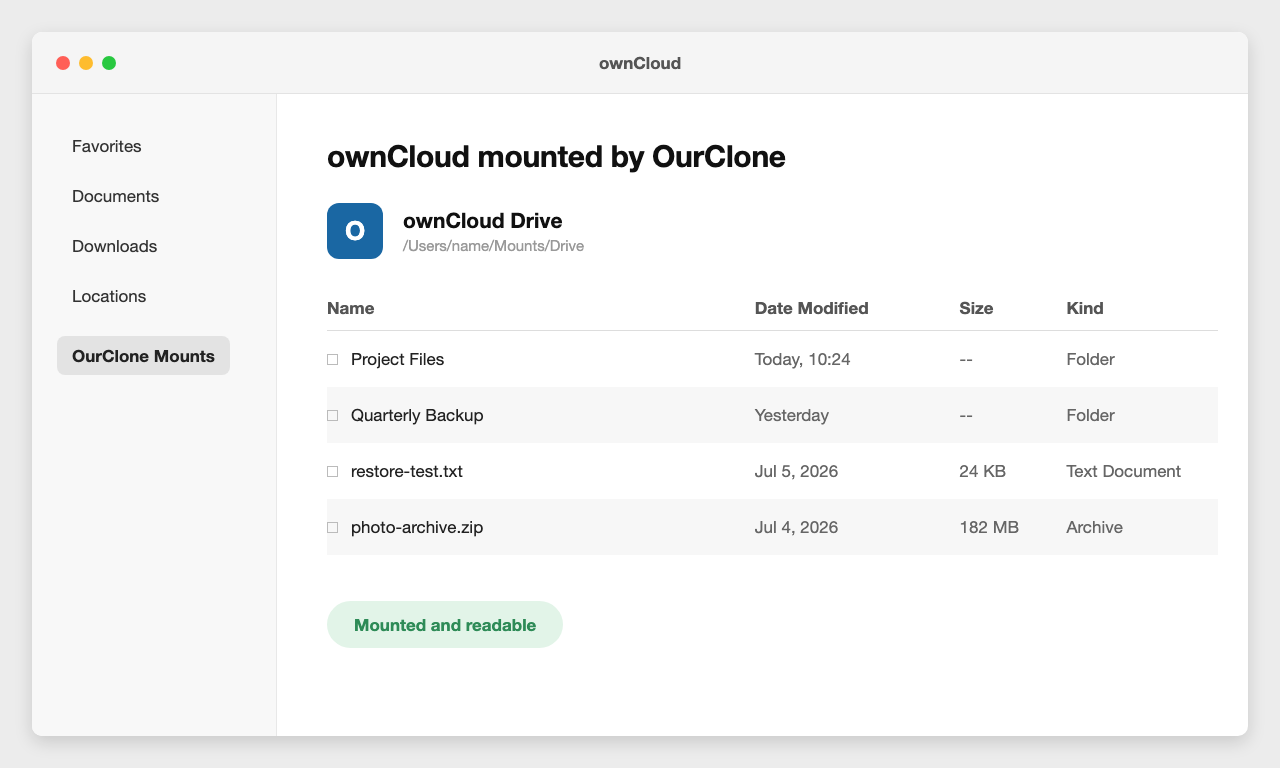
~/CloudMounts/ownCloud. Select Read-only or Read-write, optionally adjust polling interval and max cache size, and click Mount. - 🗂️ Use Your ownCloud Mount Like a Local Folder -- Open the mount point in Finder. It behaves as a mounted volume -- browse, open, create folders, drag in files, and delete items. Add a
backupfolder and a few files; OurClone streams them to your server in the background. - ✅ Confirm the Sync on ownCloud -- Back in OurClone, open the ownCloud storage in the file browser to see the new
backupfolder. For extra certainty, log in to the ownCloud web app and confirm the files arrived.

A WebDAV URL plus OurClone's mount engine turns your ownCloud server into a native-feeling folder on macOS.
Getting the Most Out of Your ownCloud Mount
Keep these in mind once your ownCloud mount is live.
- 🔁 Edits Sync Both Ways -- Adds, renames, and deletes in the mount push to the server; changes from other users and devices appear after the next poll cycle.
- 🛑 Read-Only Means Read-Only -- A read-only mount blocks uploads and saves. Remount read-write to make changes.
- 💽 Cache Lives on Your Mac -- Recently opened files are cached locally; lower the max cache size if disk space is tight.
- ⏱️ Polling Interval Affects Freshness -- On a busy multi-user server, a shorter interval shows teammates' changes sooner; on a personal instance, a longer one saves requests.
- 🔌 Unmount Cleanly Before Sleep -- OurClone reconnects on wake; for long breaks, click Unmount to release the volume.
When Your Mount Stops Working
ownCloud mounts usually break when the server's TLS certificate expires, the WebDAV URL changes after a server migration, an app password is revoked, or the mount point is no longer empty. Verify the URL in the ownCloud web app, refresh the credentials in OurClone, and remount.
Verify the Sync Anytime
When in doubt, open the ownCloud storage view inside OurClone or sign in to the ownCloud web app to confirm your files.