Why Mounting Dropbox on macOS Is a Smart Move
Working directly on Dropbox files through Finder beats the official desktop client for anyone tight on disk space. A mounted drive streams files on demand, so you can browse a 2 TB Plus account without giving up a chunk of your Mac's SSD. And because the mount is just a folder, every macOS app — Preview, Pages, VS Code, Photoshop, Final Cut — treats Dropbox as a native location.
- 🧩 Native Finder Integration — Your Dropbox shows up as a regular folder and a mounted Finder volume, so any macOS app can open and save into it without installing the Dropbox helper agent.
- 💾 No SSD Hostage Situation — Unlike the official Dropbox app's "local" mode, mounting streams files on demand. Even a 3 TB Dropbox Professional account only spends disk space on the files you actually open.
- ⚡ Real-Time Access to Cloud Files — Changes made on another device — your iPhone, the Dropbox web app, or a shared link — appear in your mounted folder after the next poll cycle.
- 🛡️ Read-Only Mode for Safety — If you just want to browse a shared team folder or pull archived assets, mount Dropbox read-only and Finder will block any accidental writes or deletes.
- 💼 From 2 GB Free up to 3 TB Pro — Every Dropbox account starts with 2 GB free, Plus includes 2 TB, and Professional goes up to 3 TB — plus Dropbox is famous for fast block-level transfers, which means snappier writes from your mount.
How Mounting a Cloud Drive Works (and Why It's Different from Sync)
The official Dropbox desktop app — even in its newer "online-only" mode — keeps a local cache and runs a heavy background process. That's safe and offline-friendly, but it can chew through hundreds of gigabytes of local storage and surprise you with high CPU usage.
Mounting flips the model. OurClone presents Dropbox as a virtual filesystem — the folder structure is visible right away, but file contents are only fetched when you actually open something. Frequently used files are cached locally for instant repeat access, and writes are pushed back to Dropbox in the background.
OurClone makes both the polling interval (how often it checks Dropbox for remote changes) and the maximum cache size configurable, plus a read-only switch when you want extra protection against accidental writes.
- 🚀 Stream files on demand — no need to download the whole drive
- 💾 Saves Mac disk space by caching only what you actually open
- 🔁 Two-way sync — edits in the mounted folder push back to Dropbox
- 🛡️ Read-only mode prevents accidental writes when you only need to browse
What to Know Before You Mount Dropbox
A few minutes of planning before you click Mount will save you from cleaning up a messy mount point later.
- 📁 Pick the Right Mount Source — You can mount a specific Dropbox folder (say
/Camera Uploadsor/Work) for focused access, or mount the entire Dropbox for full Finder browsing. Mounting a subfolder usually feels snappier. - 🖥️ Choose a Sensible Local Mount Point — Use a dedicated, empty folder like
~/CloudMounts/Dropbox. Don't aim it at your Desktop or any folder that already has files — the mount will hide whatever was there. - 🔒 Read-Only vs Read-Write — Read-only is the safer pick when you just need to browse or pull files. Pick read-write if you need to drag files in, save from apps, or rename and delete. Remember: read-only mode literally cannot upload — Save dialogs will fail.
- ⏱️ Set a Reasonable Polling Interval — Lower intervals catch remote changes faster but burn more Dropbox API calls. Higher intervals are quieter on the network. 30–60 seconds works well for most workflows.
- 💽 Plan Your Cache Size — A bigger cache makes repeat opens snappy but eats local SSD. A few GB is enough for docs; bump it up if you regularly reopen video or large design files.
How to Mount Dropbox on macOS with OurClone
OurClone makes mounting Dropbox on macOS refreshingly painless. Step 1 uses Dropbox's standard OAuth 2.0 flow — no API keys, no app passwords, just a browser login — and from there you're four clicks away from a Finder-ready volume.
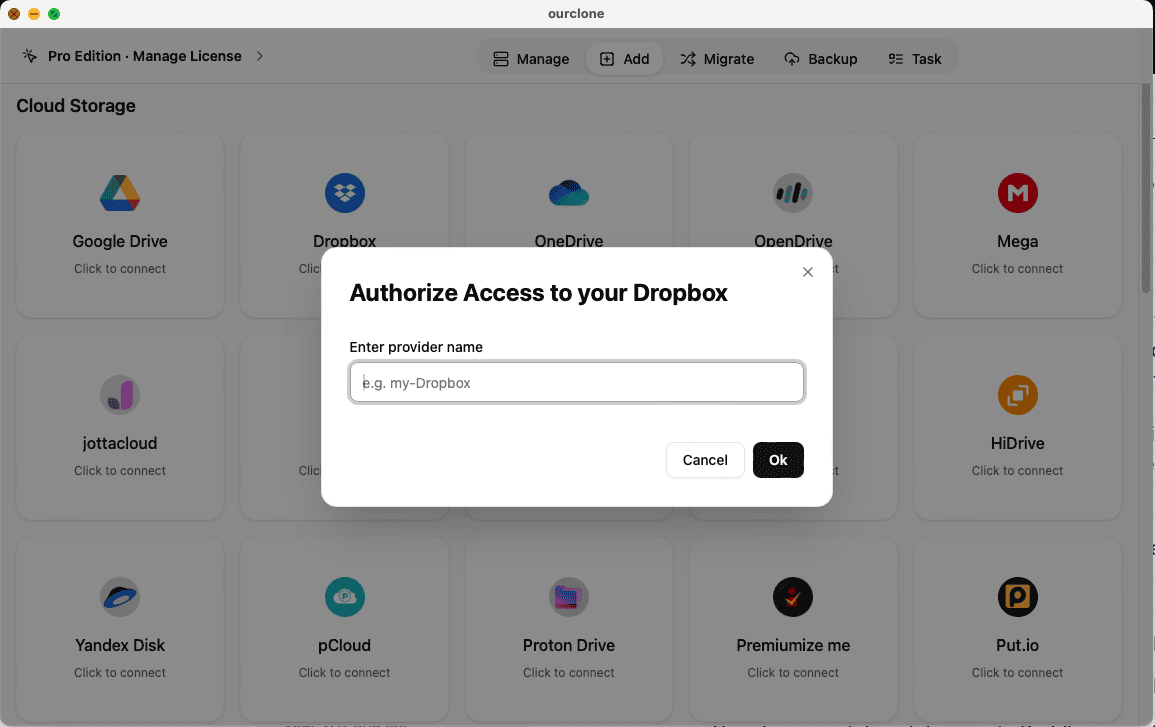
- 🔗 Connect Dropbox via Browser — Open OurClone and go to
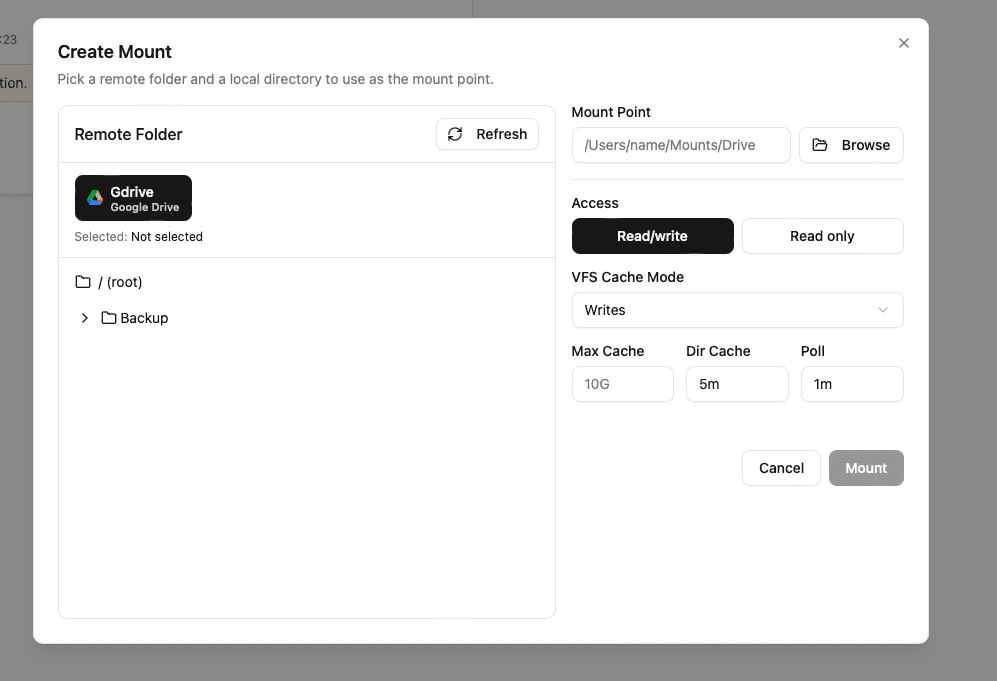
Add Storage. Select Dropbox from the provider list. A browser window will open automatically — log in to your Dropbox account and authorize OurClone to access your storage. Once approved, Dropbox will appear as a connected destination. - 📂 Open the Mount Tab and Click New Mount — Once Dropbox is connected, go to the
Mounttab in OurClone. Click the New Mount button in the top-right corner to open the mount configuration dialog. - ⚙️ Configure the Mount Settings — In the dialog, pick Dropbox as the authorized source. Choose what to mount — a specific cloud folder (e.g.,
/Camera Uploads) or the entire drive. Then pick a local folder as the mount point (something like~/CloudMounts/Dropbox). Choose Read-only if you just want to browse, or Read-write if you need to upload and edit. Optionally tweak the polling interval (how often OurClone checks Dropbox for changes) and max cache size. Click Mount to finish. - 🗂️ Use Your Dropbox Mount Like a Local Folder — Open the local folder you picked as the mount point. macOS now treats it as a mounted volume — you can browse, open, create folders, drag in files, and delete items just like any local folder. For example, create a new
backupfolder inside and drop in a few photos. OurClone streams the changes to Dropbox in the background. - ✅ Confirm the Sync on Dropbox — Switch back to OurClone and open your Dropbox storage from the file browser — your new
backupfolder and uploaded photos should already be listed. For extra peace of mind, log in to the Dropbox web portal and confirm the files appeared there too.
The combination of Dropbox's OAuth sign-in and OurClone's mount engine gives you a Dropbox that genuinely feels like a local volume on macOS — no full-disk mirror, no Dropbox agent eating CPU, just files where you expect them.
Getting the Most Out of Your Dropbox Mount
A live mount is convenient, but it behaves slightly differently from a synced folder. Keep these in mind once your Dropbox mount is up and running.
- 🔁 Edits Sync Both Ways — Anything you add, rename, or delete in the mounted folder propagates to Dropbox. Changes made on other devices appear after the next poll cycle.
- 🛑 Read-Only Means Read-Only — If you mounted with read-only permissions, drag-and-drop uploads and Save dialogs will fail silently or with a permissions error. Remount as read-write to enable uploads.
- 💽 Cache Lives on Your Mac — Recently opened files are cached locally for speed. If your Mac is low on disk space, reduce the max cache size in the mount settings.
- ⏱️ Polling Interval Affects Freshness — A short polling interval picks up remote changes faster but increases API calls. For Dropbox, a 30–60 second interval is usually a good balance.
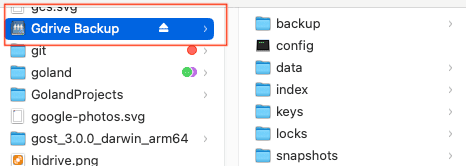
- 🔌 Unmount Cleanly Before Sleep — If you put your Mac to sleep with the mount active, OurClone will reconnect automatically on wake. For long absences, click Unmount in the Mount tab to release the volume.
When Your Mount Stops Working
Most mount failures trace back to one of a few causes: an expired or revoked OAuth token (Dropbox occasionally forces re-authorization after a security event, password change, or session reset), a network drop, or a mount point that's no longer empty. If your Dropbox mount suddenly returns errors or refuses to list contents, the fastest fix is usually to unmount, re-authorize Dropbox under Add Storage, and remount. You can also review and revoke third-party access from your Dropbox connected apps page.
Verify the Sync Anytime
Any time you're unsure whether a file made it up, you have two easy checks: open your Dropbox storage view inside OurClone's file browser, or log straight into the Dropbox web portal. Whatever Finder shows in your mount point should match — and if it doesn't, give it a poll cycle and check again.